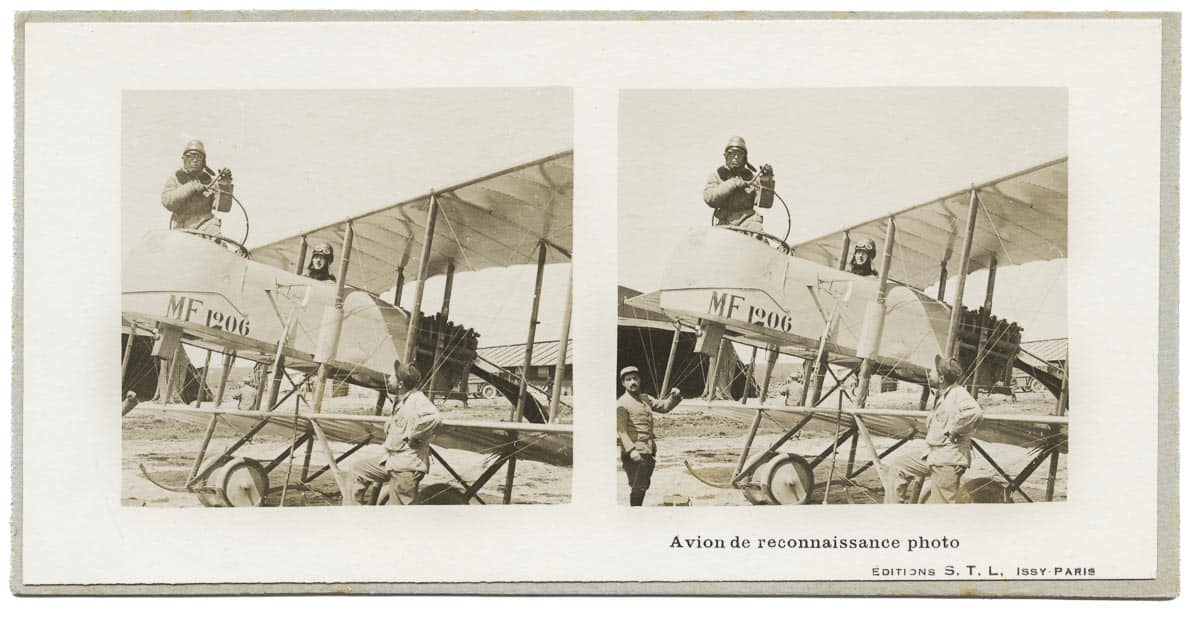
8.5 x 17 cm paper card stereoview, Éditions S.T.L.
The First World War was the first major conflict in which aerial photography played an important role. Aircraft were used to observe the enemy and to learn their intentions. Observers made sketches and shared their observations on their return. Cameras were soon used to confirm the observations and to obtain more reliable information. Aerial photography became more important after the Western Front became bogged down in static trench warfare. The traditional role of the cavalry as a reconnaissance unit was over, and rapid advances in aerial photography were made: better lenses, longer focal lengths to capture more details and cameras that enabled semi-automatic switching of glass negatives. The French were forerunners in aerial photography, but the Germans had the best quality lenses made by Carl Zeiss Jena.
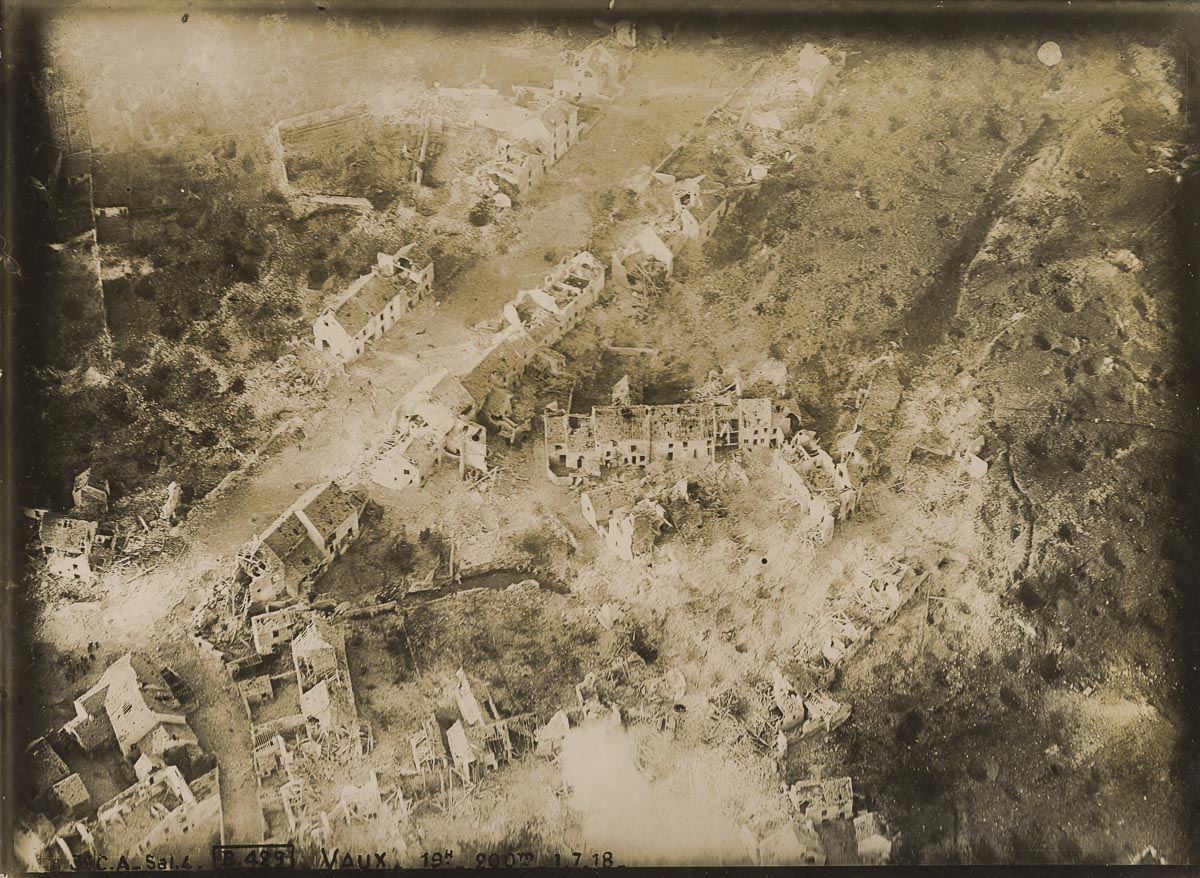
Oblique aerial photo of the village of Vaux near Château-Thierry.
The photo was made by the Air Service of the American Expeditionary Forces.
17 x 23 cm gelatin silver print.
There were three types of aerial photos:
- Vertical photographs taken straight down;
- Oblique photographs taken at an angle;
- Panoramic photographs taken with the horizon visible.
Vertical photos were used for creating maps. Wide-angle lenses were used to capture large areas. The oblique and panoramic photos were used to distinguish relief in the landscape and to identify military structures. Mainly glass plate negatives were used, and only sporadic roll film was utilised. The glass plates were of different sizes, and the print was usually the same size as the original negative. Mosaics were composed from different images to represent a large area. Armies began to camouflage their objects so that they were invisible on aerial photographs.
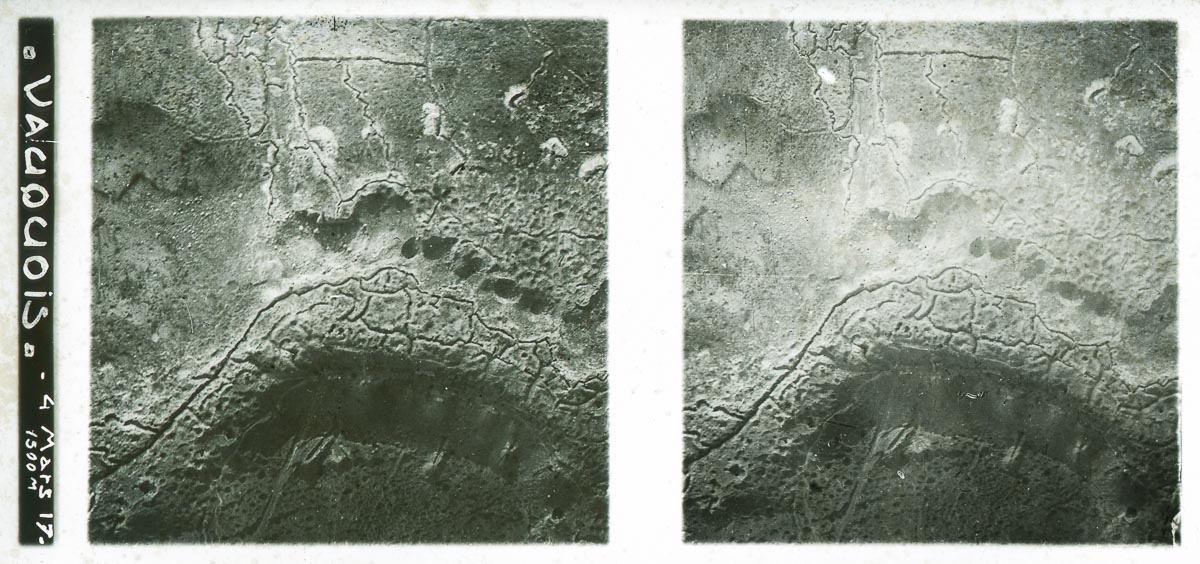
9 x 18 cm glass stereoview.
Aerial stereo photography was used to highlight the positions of camouflaged objects by observing the relief of the photo that was viewed with a stereoscope. Stereo cameras were unusable for aerial photography. The distance between the two lenses of a stereo camera was too small to record depth due to the flight altitude, and a larger stereo baseline was needed. Stereo photos were made by taking two pictures in succession with a conventional camera. An overlap of 60% between the two photos was necessary to get a usable stereo depth effect. The photographer used tables to calculate the interval between the two shots. Flight altitude, the focal length of the lens, the size of the glass plate and the speed of the aircraft were taken into account.
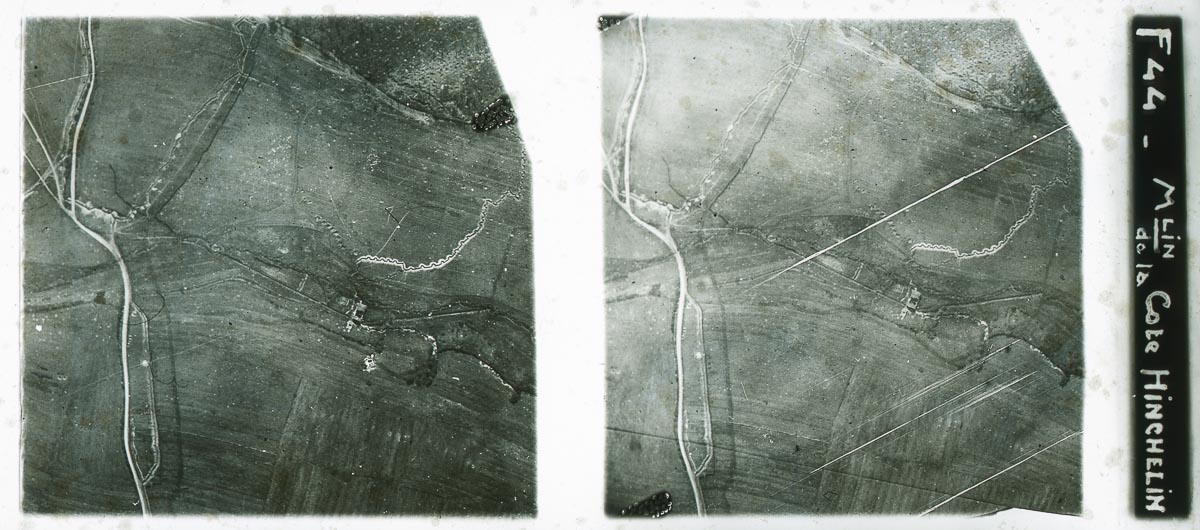
The abbreviation F44 refers to the French Escadrille that took the photo.
9 x 18 cm glass stereoview